Die cuts are probably scrapbookers' favourite embellishment. They save the day when there is no time to cut out small details, set the mood of a page and combine easily with paper from the same collection. We explain what die cuts are, what kinds there are, how to choose them and what to do with them.
What are die cuts
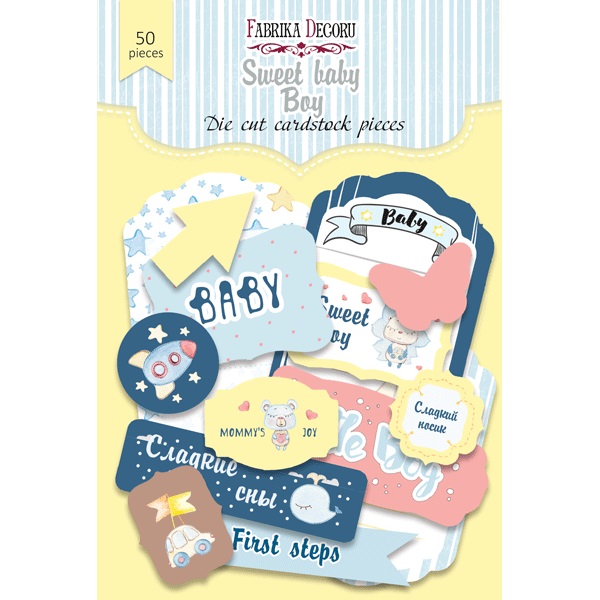
A die cut (known locally as vysichka or vyrubka) is an element cut from paper or cardstock with a special steel-rule die under a press. In production a whole sheet is cut this way: the figures are held by thin bridges and are easily popped out with your fingers. At home the same is done with a die-cutting machine and cutting dies.
You will often come across the word ephemera too — this is what small sets of paper "bits and pieces" in a vintage style are called: tickets, postcards, labels, newspaper clippings, notes. In essence these are die cuts as well, just with a different mood.
Types of die cuts
- Sets for paper collections. The paper manufacturer makes die cuts with the same designs and colours: frames, tags, sentiments, figures. A TM Fabrika Decoru or Scrapmir set usually has 40–60 elements.
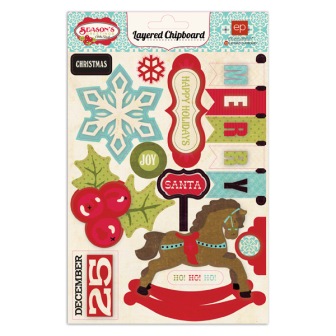
- Chipboard die cuts — made of thick 1–2 mm printed board. They do not bend, add dimension and often already have an adhesive backing.
- Shaped (openwork) — with fine cut-out detail: doilies, borders, lace frames, snowflakes.
- Themed — tickets, frames, pennants, tags, sentiments and quotes.
- With effects — with foil, glitter, or transparent acetate: for accents, not for the background.
How to choose die cuts
- To match the paper. The easiest way is to take die cuts from the same collection as the paper: the colours are guaranteed to match. The product title usually includes both the brand and the collection name.
- By thickness. Thin paper die cuts layer well and suit journaling. Thick cardstock and chipboard ones hold their shape and add dimension.
- By quantity. A small set is enough for a few cards; for an album it is better to take 50 elements or more.
- By style and theme. Baby, wedding, New Year, school, vintage and shabby chic: the theme of the set will tell you which project it was made for.
8 ideas for using die cuts
- Layers. Put a large element (a frame or a tag) at the bottom, a medium one on top, and small accents last. Three layers already look like a well-thought-out composition.
- Dimension. Put foam tape (3D foam adhesive) under some of the die cuts — the page will come alive and shadows will appear.
- Tinting the edges. Run distress ink or a pencil along the edges — the die cut will stop looking "too new" and will blend into the background.
- Gloss and embossing. Glossy Accents on berries, dewdrops or flower centres, and heat embossing powder on sentiments — and the small details will shine.
- Journaling. A tag or card die cut is a ready-made spot for a date, a signature or a story to go with a photo.
- Shaker window. A frame die cut, a piece of acetate and a handful of sequins between them — and you get an element that rattles in your hands.
- Clusters. Gather die cuts into groups together with flowers, chipboard and ribbons — this is how page corners and titles are decorated.
- Not only albums. Die cuts will decorate cards, envelopes, gift packaging, tags, planners and notebooks.
How to make die cuts yourself
If you need a lot of identical elements or a precise shape, you will need a die-cutting and embossing machine and cutting dies: place the paper on the die, run it through the machine — and the die cut is ready. For die-cutting, 200–250 gsm cardstock works best: it holds its shape, and fine details do not tear.
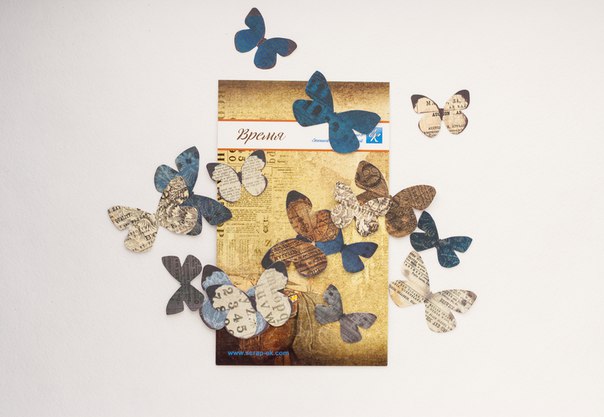
Simple shapes (circles, hearts, butterflies, corners) are quick to make with shaped punches. And if you have no machine at all, there are cut-out pictures — you cut them out with ordinary scissors.
How to store die cuts
The most convenient way is in zip bags or in a box with dividers: by colour, theme or collection. Keep die cuts away from direct sunlight so they do not fade, and keep the leftovers from sets — small bits will come in handy for cards.
All ready-made die cuts are in the die cuts for scrapbooking section. You will find more terms in the glossary “Scrapbooking terms”.